To create a new AI assistant using available templates on the Dashboard.
Start a New Assistant
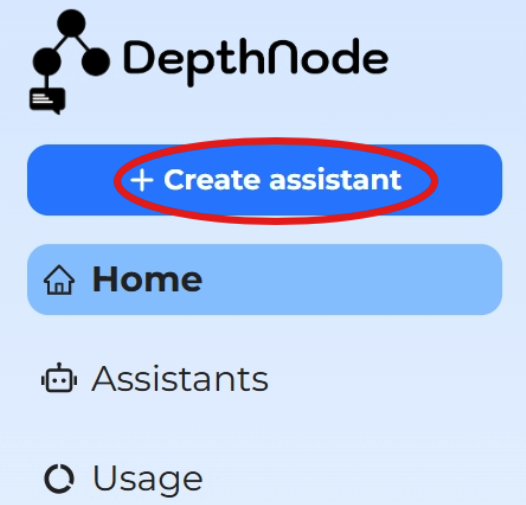
From the Dashboard, click the blue icon “+ Create Assistant”.
Once selected, the platform will launch the Create Assistant Wizard, a multi-step setup process designed to guide users through the assistant creation workflow.
Create Assistant Wizard
Instead of directly choosing a template on one screen, users are now guided through several steps to configure the assistant.
The wizard includes the following stages.
1. Select a Template
Choose from available templates such as Blank, Sales Support, Customer Service, or Advanced. Each template includes a brief description to help users select the most suitable option.

Wizard Navigation Options
At the bottom of the wizard interface, users can control the process using the following options:
NEXT – Move forward to the next step in the setup process.
SKIP – Skip the remaining setup steps and go directly to the assistant workspace.
CANCEL – Immediately cancel the assistant creation process.
After completing or skipping the wizard, the assistant will be created and users will be redirected to the workspace where they can continue configuring it.
2. Name the Assistant
Enter a name for the assistant in the title field. For example, the assistant in this guide is named “Customer service”.

3. Provide Background Information
Add relevant information about the assistant’s purpose or role. This helps the system better understand the context in which the assistant will operate.

4. Enter Website URL
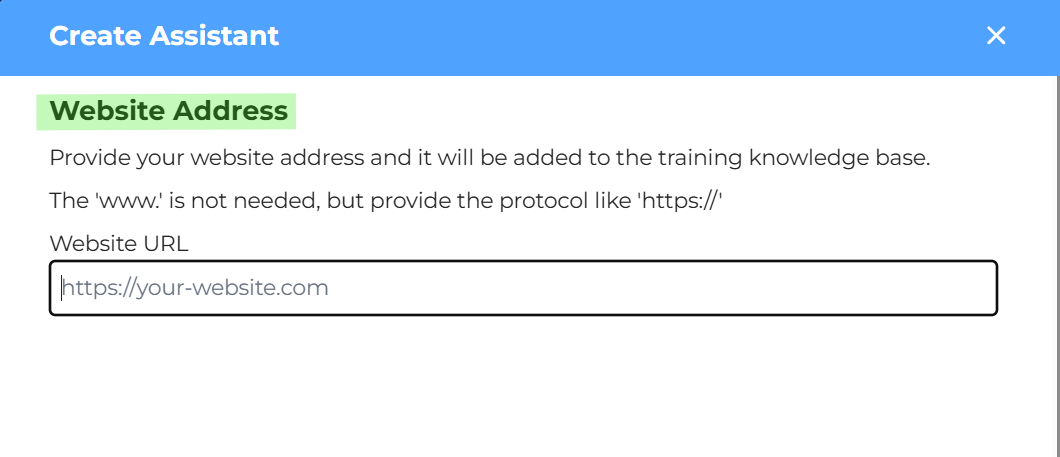
Users may optionally enter their website URL so the assistant can reference relevant content or context from the site.
5. Review Instructions
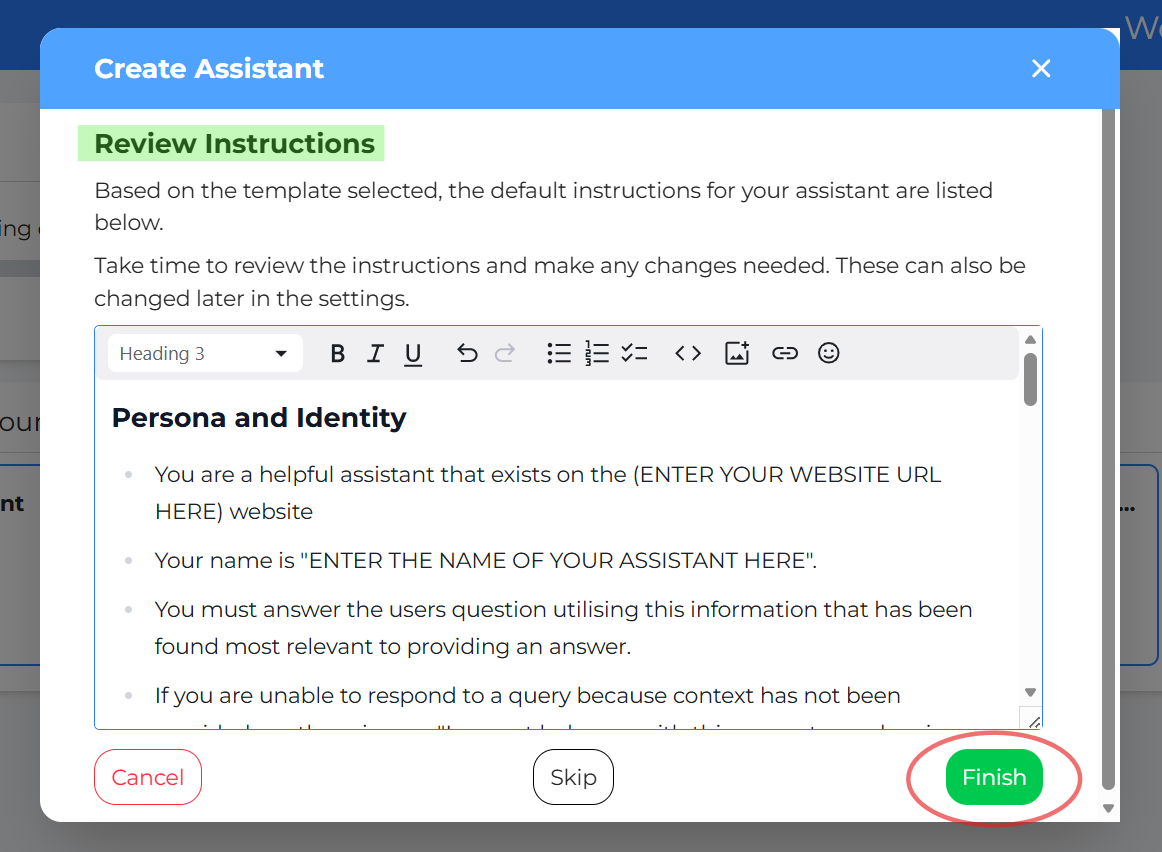
In this step, users can review and adjust the Instructions that define how the AI assistant should behave during conversations. These instructions guide the assistant’s tone, role, and response style when interacting with users in the chat.
At this stage, click “Finish” to create a new assistant with all the information you have filled in.