
In this guide, you will create a Make.com scenario that receives data from DepthNode through a webhook and automatically adds each submission as a new row in Google Sheets.
Before you begin
If you do not already have a Make account, visit Make.com and click Get started free. You can also sign up or sign in using your Google account.
I. Create and Test the Webhook
Create a New Scenario: Open Make.com and create a new scenario.
Access Make.com website.
Create a new scenario shown below.
Step 1: Click on “Scenarios” on the hover bar.
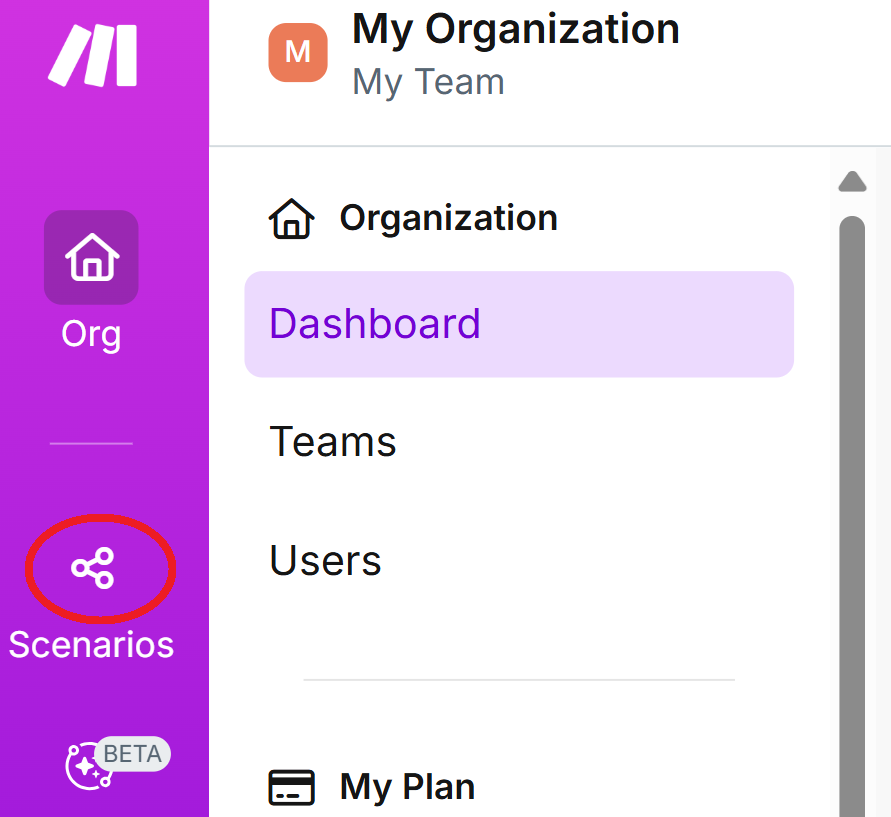
Click on the “Create scenario” button.

Step 2: Add the Webhook Module
Select the Webhooks module as the first step.
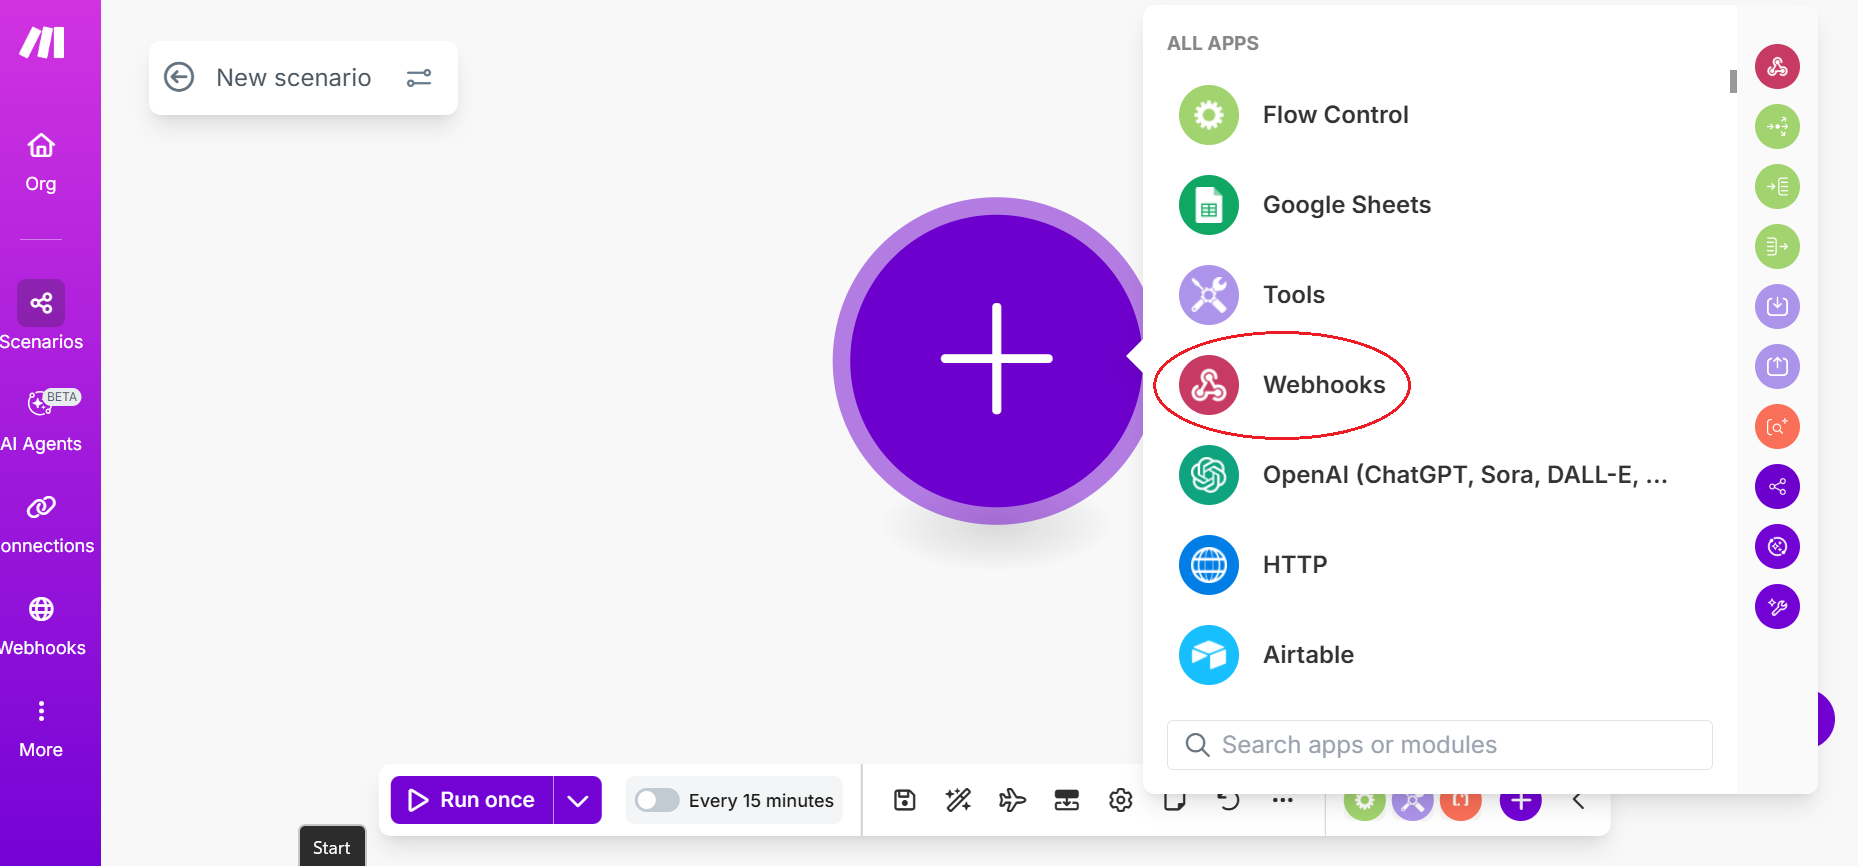
Select Custom Webhook: Choose ‘Custom Webhook’ which triggers when a webhook arrives.
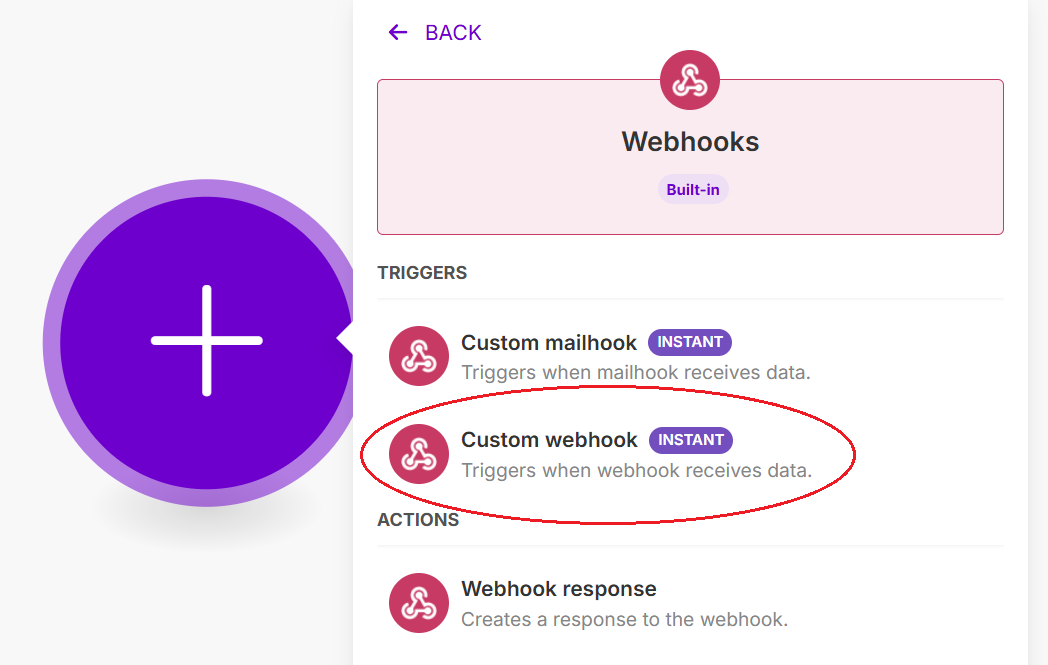
Step 3: Create a Webhook
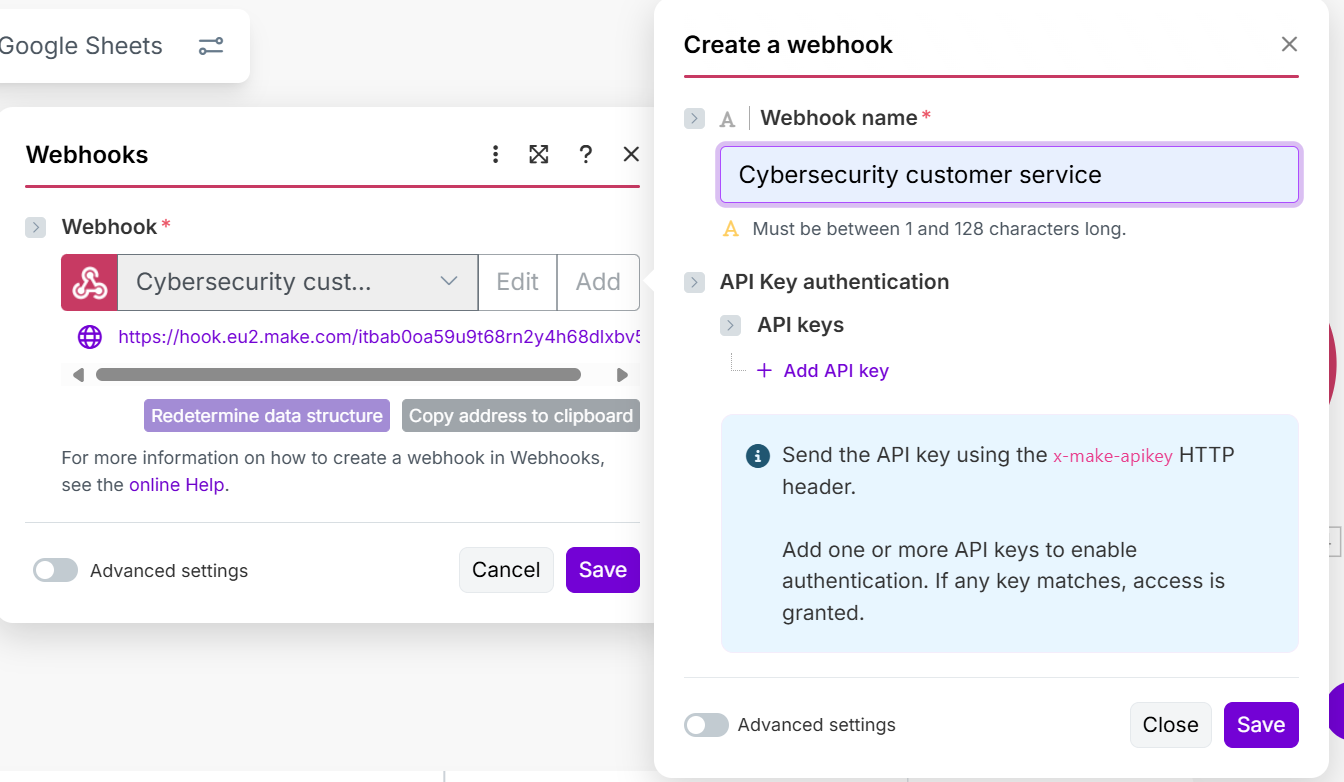
Click ‘Add’ to create a new webhook.
Name it (e.g., ‘Cybersecurity customer service’) and click ‘Save’.
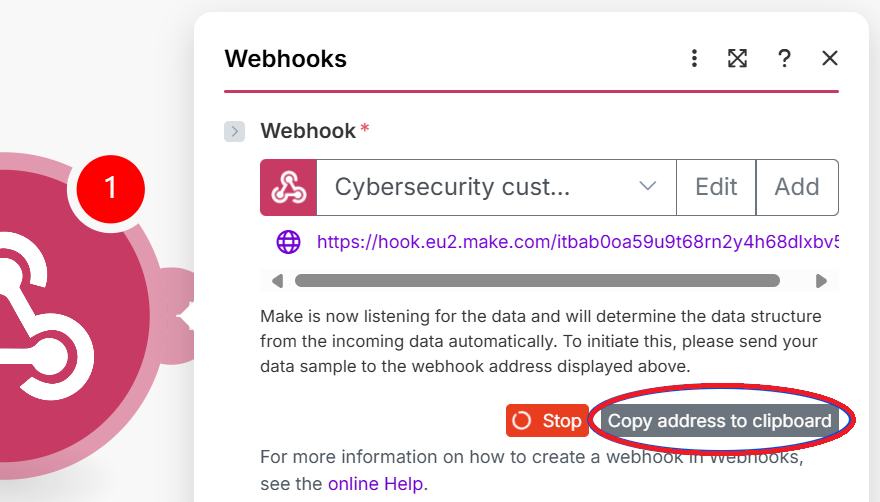
Make.com will generate a unique URL for the webhook.
Copy the URL: Copy this generated URL.
Step 4: Connect in DepthNode
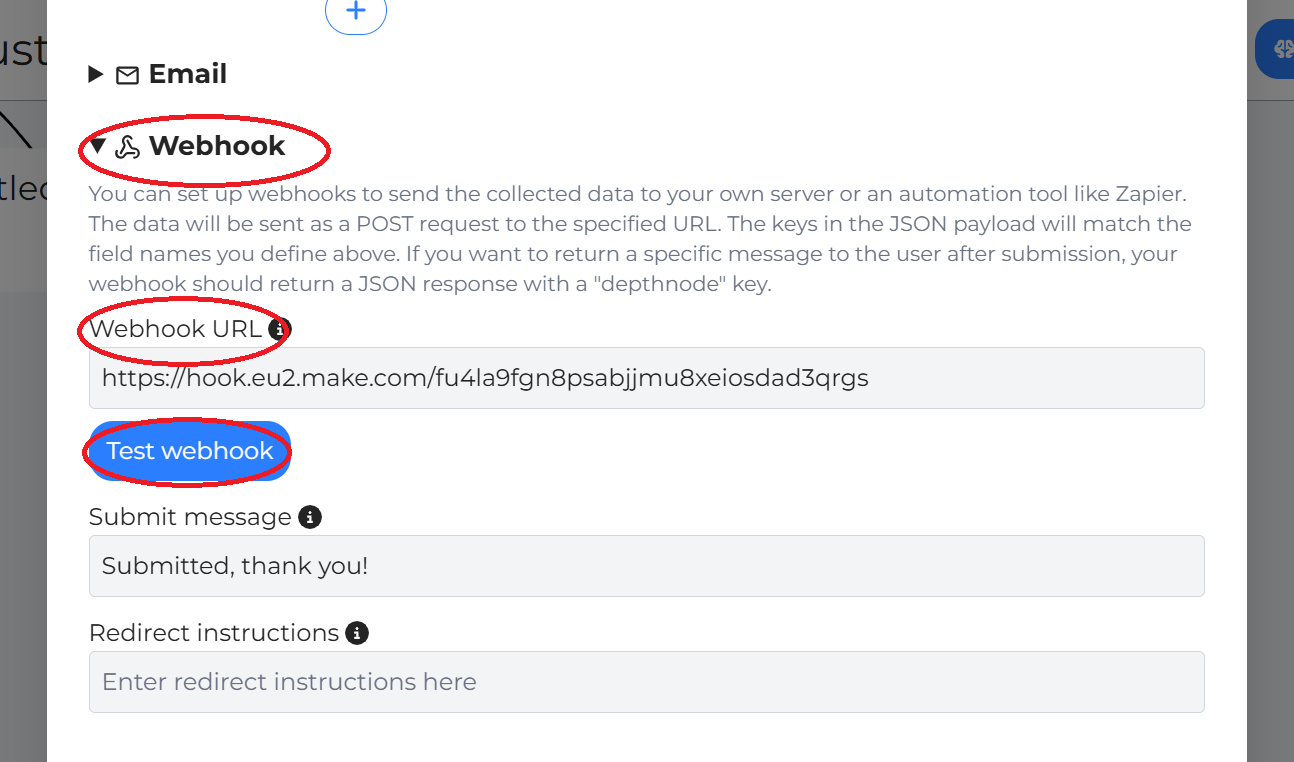
Return to the Form Node in DepthNode, click on “Webhook”, paste the copied URL into the Webhook URL field.
Step 5: Test the Webhook
In DepthNode, click ‘Test Webhook’.
In Make.com, the webhook module will be waiting for data.
When the test is run, DepthNode will report the test as successful.
Make.com will confirm it has “successfully determined” the data, meaning the connection between DepthNode and Make.com is working.
Save the Webhook: Click ‘Save’ on the webhook module in Make.com.
