Building a decision tree involves linking nodes together to form an interactive flow.
Each node performs a specific function; displaying a message, collecting details, or routing a query.
Building Your Assistant Flow
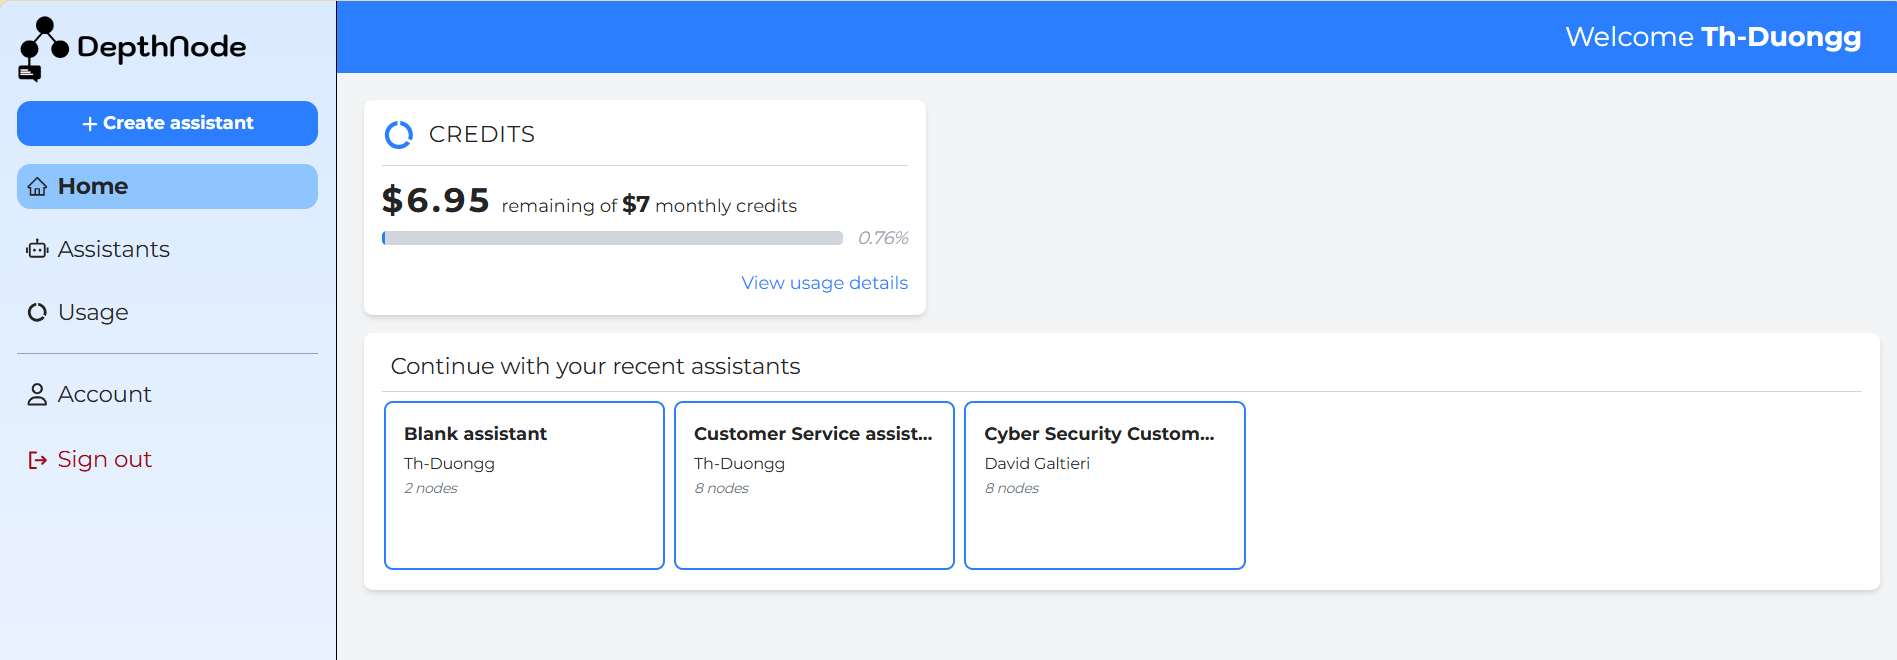
Step 1: Navigate to the Dashboard
After logging in successfully, you will be directed to the Dashboard, where you can manage your assistants and projects.
Step 2: Create a new assistant or select one that is already created
Please go through the “Creating a New Assistant” article for detailed explanation.
Once an assistant is created, you are directed to the workspace, also called Decision Tree Editor . Here, you can see the first node normally called “Introduction” on the very top.
You can edit any of the tree nodes by clicking on the one you want to modify.


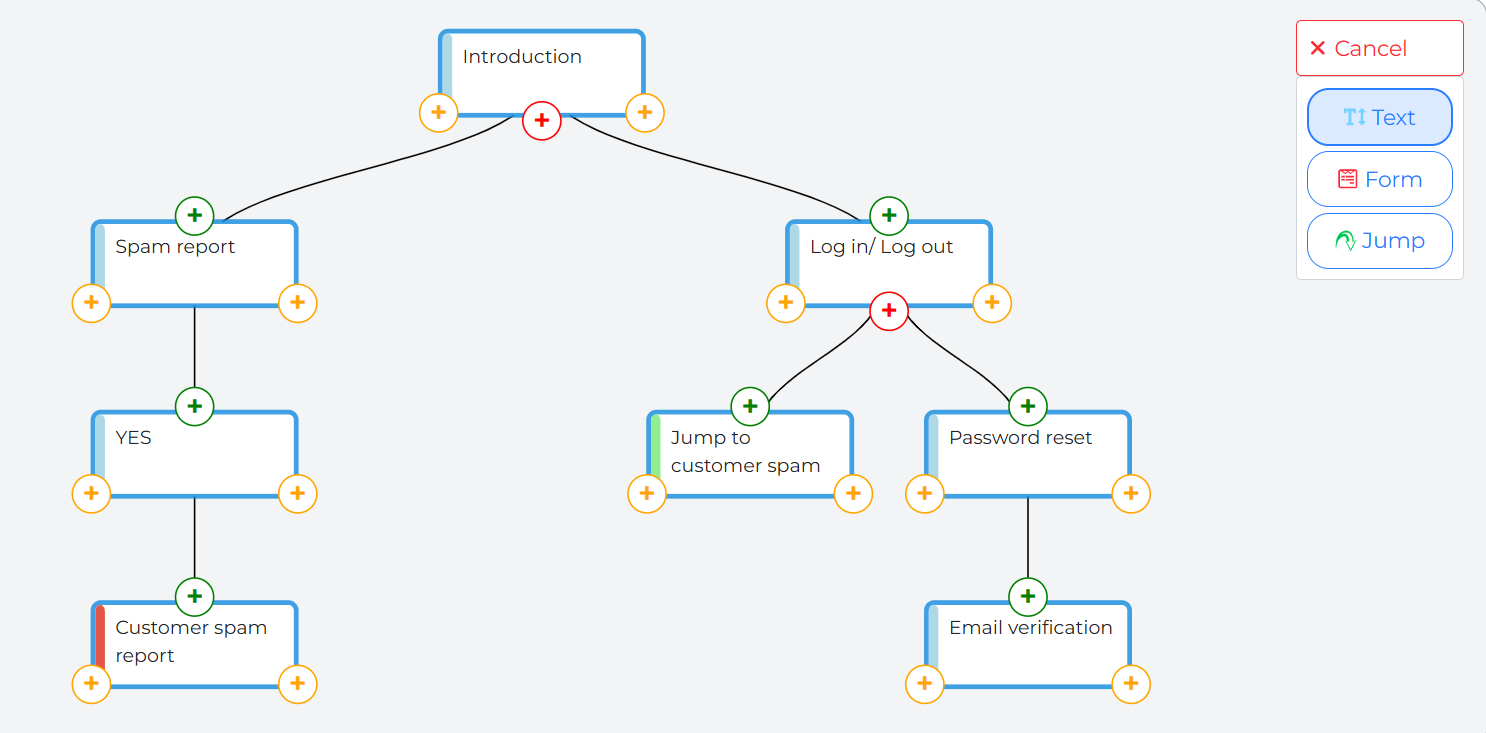
Click the “+ Add node” icon at the top-right corner of the Editor Screen.
Select the desired node type (Text, Form or Jump node). You can read through Node types explanations in “Decision tree fundamentals” article to build a better logical tree flow.
Next, selecting the node position.
After selecting the node type, multiple coloured plus icons will appear around existing nodes. These indicate the positions where a new node can be inserted.
Yellow Pluses – Allows you to add a node to the left or right of the existing node, creating another option at the same level.
Red Pluses – Adds a node below the current node, extending the conversation branch.
Green Pluses – Adds a node above the existing node. This inserts the new node before the current one and pushes the entire branch one level downward.
For example, a new Text node is added on the right of “Introduction”.
Initially, it is automatically named “Text node 6”.

Step 4: Edit a Node
For each node, you can:
Update the node title
Write the message that will appear in the chat
Configure redirect instructions to control the conversation flow
For instance, Text node 6 is changed with new tittle, also added with some messages to provide more information. Please see the illustration below.
Note: Remember to click “Save changes” after every time editing.

Redirect instructions:
Redirect Instructions are used to send a user from free conversation back into the decision tree when a specific situation or intent is detected.
Using default or combined chat modes can cause the assistant to answer a question and then return the user to a node that may not be relevant, which can be confusing or annoying. Redirect Instructions help avoid this by only redirecting the user when certain conditions are met.
Always click Save Changes after reviewing your updates.
Note: Redirect Instructions work only with Default or Combined query modes. They do not work with Knowledge Base (KB) queries, because in KB mode the assistant searches the knowledge base to generate a response instead of redirecting the conversation flow.

How to Use Redirect Instructions
-
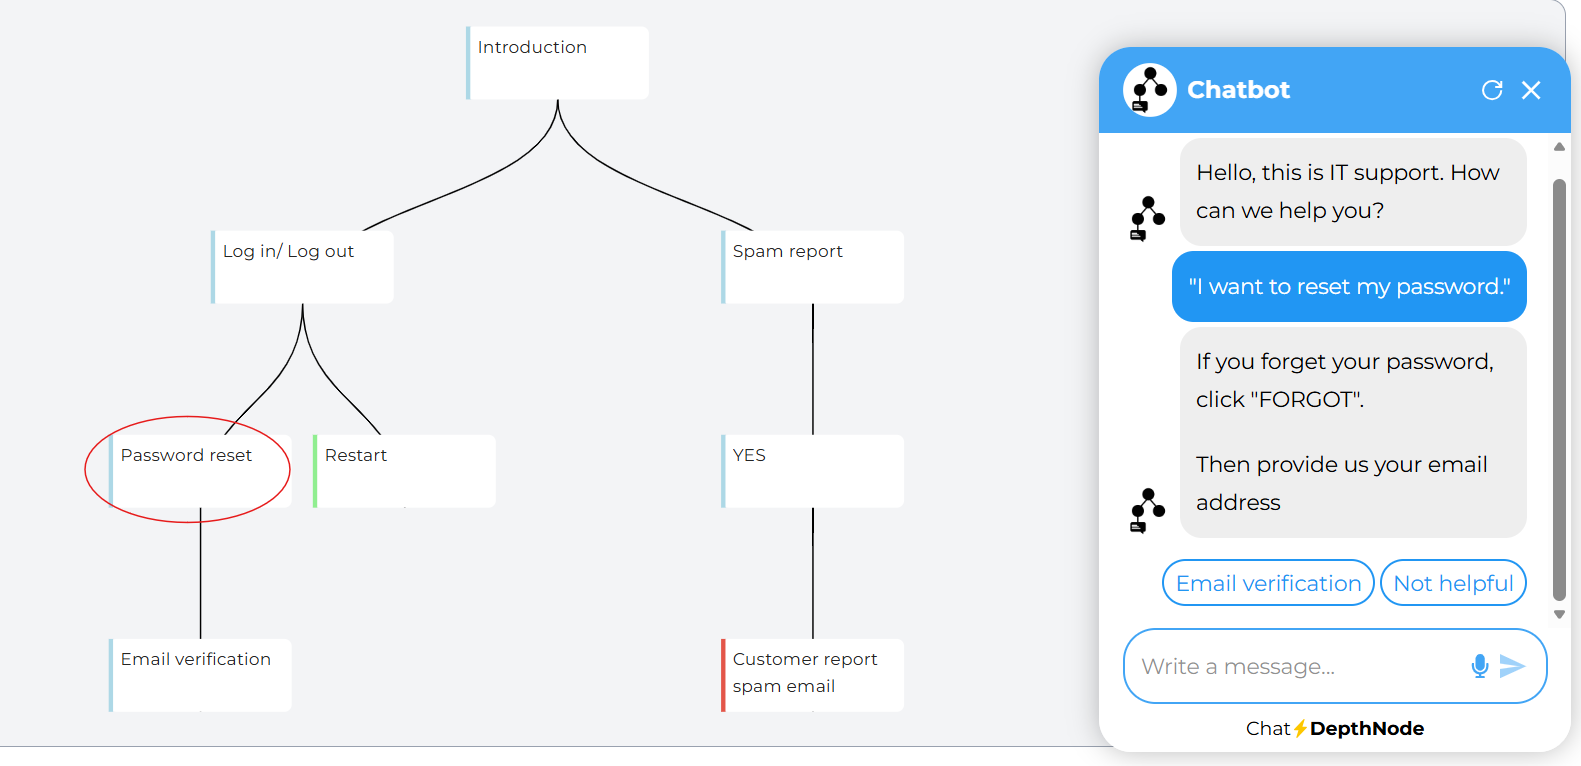
Select the node you want users to be redirected to (for example, Reset Password).
-
In the Redirect Instructions field, enter a short instruction describing when the assistant should redirect the user.
-
During a conversation, the assistant will recognize the user’s intent based on their question.
-
When the intent matches the instruction, the assistant will automatically redirect the user from the chat back to the selected node in the decision tree.
Tip: Use clear and specific wording in Redirect Instructions to ensure users are guided to the correct node at the right time.
For example, if the assistant is helping users reset their password and a user prompts “I want to reset my password.”, Redirect Instructions can detect this intent and redirect the user to the Reset Password node in the decision tree.
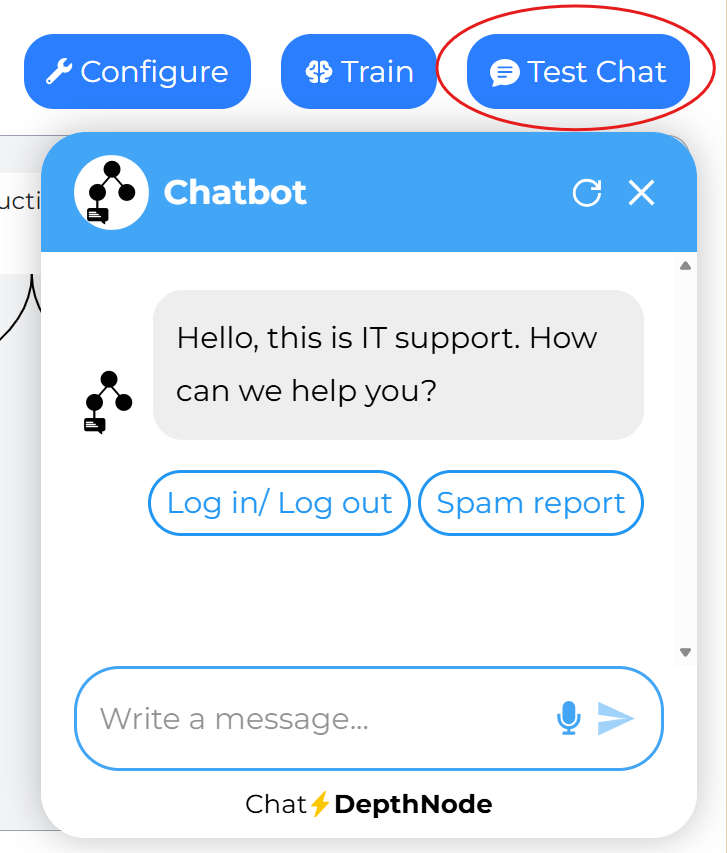
Step 5: Preview or Test the Chatbot
Use the Test Chat option to preview the conversation flow. This allows you to see how the AI chat moves through each node and verify that everything works as expected.
Tips for Effective Tree Building
Use short, clear node names: Helps manage large trees easily.
Group related nodes: Keep all “Password” nodes under one branch.
Avoid too many levels: Limit to 3, 4 layers deep for simplicity.
Test after every few nodes: To ensures no broken paths or loops.
By maintaining a clean structure, even a complex chatbot remains easy to navigate and modify later.