
To send a message back to the assistant after successful data collection, you must add two final modules to your Make.com scenario: a ‘Create JSON’ module to correctly format the reply and a ‘Webhook Response’ module to send it.
I. Create JSON Module
This module ensures your response is correctly structured with the mandatory “depthnode” key. This is especially important if your response data could contain content other than plain text, like formatting, new lines, bullet points, computer code, etc.
- Add ‘Create JSON’ Module: Add a new module after the Google Sheets (Add a Row) module and select the ‘JSON’ app, then the ‘Create JSON’ action.
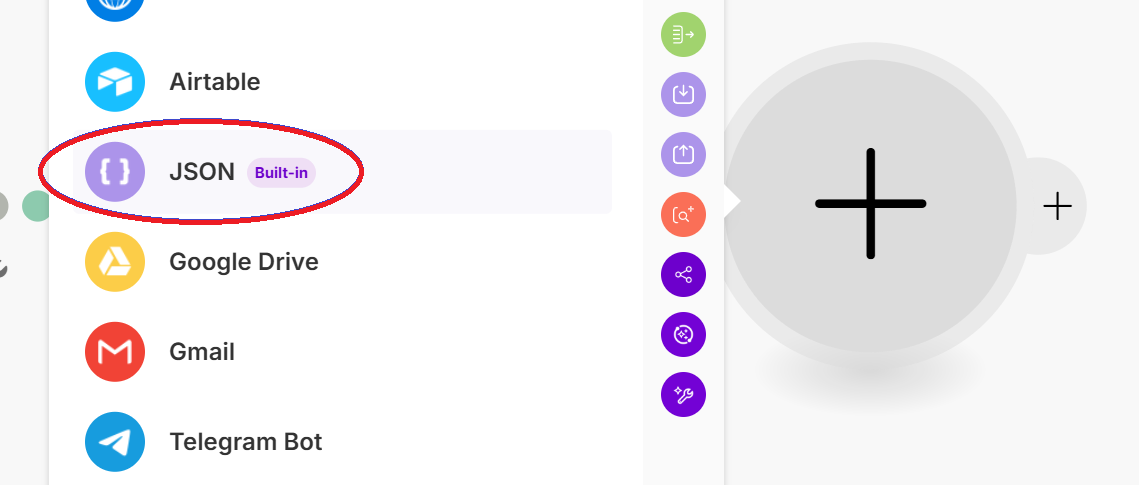
- Define the Data Structure:
Data Structure: Create a new data structure.
-
-
- Name: DepthNode Response
- Key: depthnode (Type: Text)
-
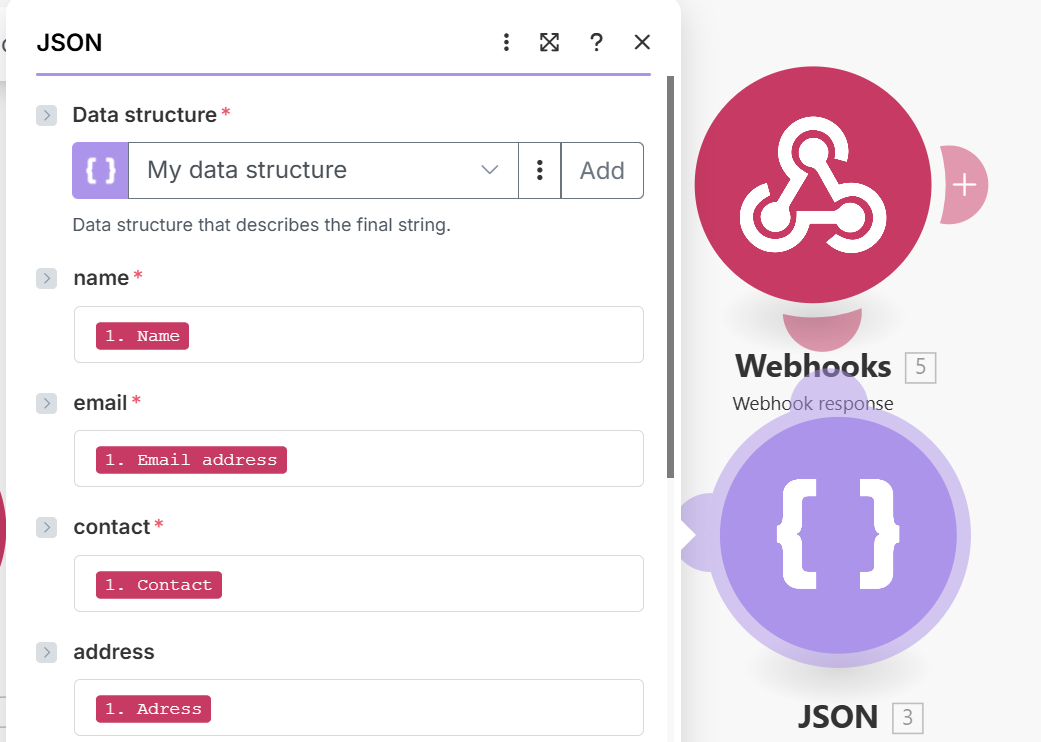
- Map the Field: In the ‘Create JSON’ module setup:
Map the ‘depthnode’ key to a custom message.
Personalise the message by dragging the Name variable from the initial Webhook module’s output into the message text.
- Example Content:
“Thanks [1. Name] for submitting, your [1. Purpose] has been successfully collected”.
Save the Module: Save the ‘Create JSON’ module.

II. Webhook Response Module
This module takes the JSON output and sends it back to Depthnode.
Add ‘Webhook Response’ Module: Add the final module, selecting the Webhook app and the ‘Webhook response’ action.
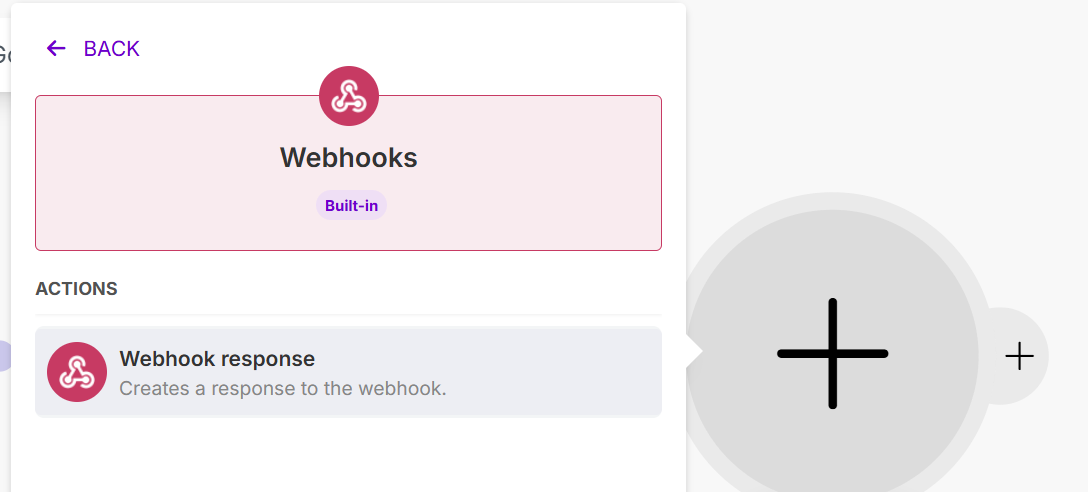
Configure the Response:
-
- Status Code: Set this to 200.
- Body: Select the ‘JSON String’ output variable from the ‘Create JSON’ module. This ensures the entire, correctly formatted JSON structure is sent back as the body.

If you do not have access to a "Create JSON" style module then you can add the JSON string directly as follows:
Save the Scenario: Save the entire scenario one last time.
