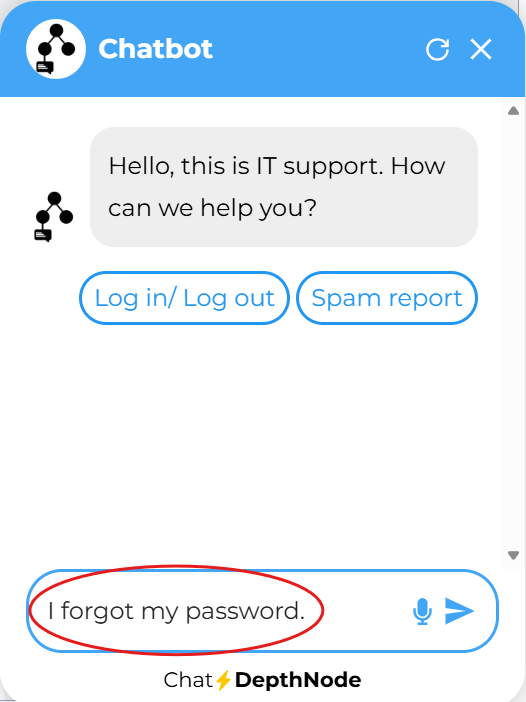
The Test Chat feature allows you to test the decision tree and query mode behaviour quickly.
The results will vary depending on the query mode selected in Configuration.
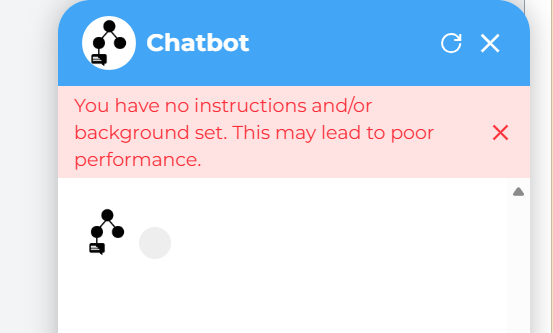
Warning for Missing Background or Instructions
If Background Information or Instructions were skipped or not added during configuration, a warning message will appear when testing the chat.
This warning indicates that missing configuration details may lead to poor chatbot performance.
The warning will remain visible until the required Background Information is added.
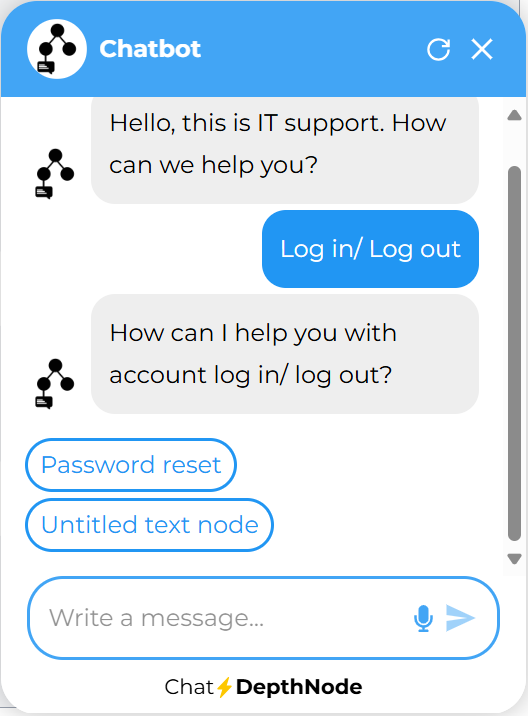
When testing in Default mode, the chat assistant follows the decision tree structure.
The chat begins with the first node, “Introduction.”
This message displays selectable areas that correspond to its child nodes. Users can click an option to continue the conversation.

For example:
If the user selects “Log in / Log out”,
The chat then displays the next two child nodes under that branch.
In Default mode:
If a user types a question that is relevant to an existing node, the assistant returns the most relevant node(s).
If the input is not clearly relevant to any node, the assistant will still return the node it considers most relevant.
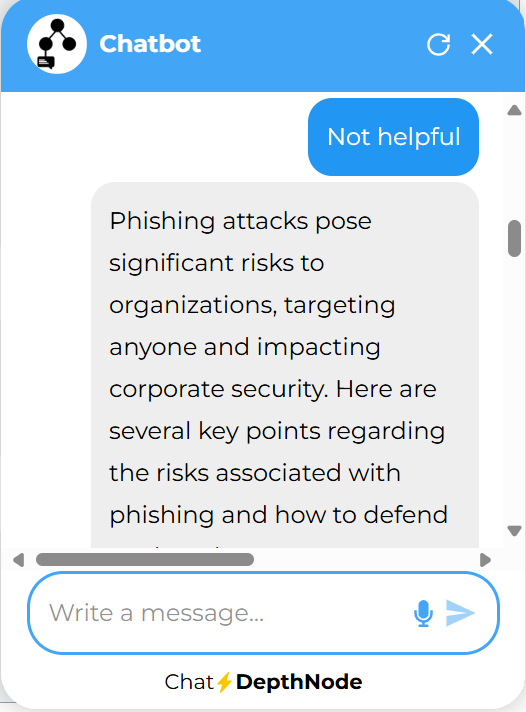
If the user selects “Not helpful” when a node is presented, the assistant will then perform a Knowledge Base search.
2. Testing with KB mode:
When testing in KB mode, the chat responds only using content from the Knowledge Base (please read “Training the AI Assistant” for more details).
The Knowledge Base may include:
Free text training
URL website training
Uploaded documents
Q&A pairs
Images
The chat assistant replies by recognising relevant keywords and understanding the language context of the user’s query.
For example, if a user asks about resetting their password, the chat may respond with the content from the “Password reset” node — provided that information exists in the Knowledge Base.

3. Audio Chat function:
Instead of typing a message manually, users can use the Audio Chat feature.
The AI records the user’s speech and converts it into written text automatically.
Click on the icon to start recording your speech.
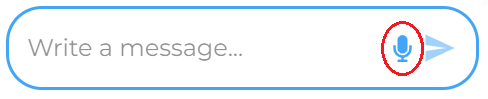
Using Audio Chat
Click the microphone icon to begin recording.
A countdown timer will appear while recording.
You can click the red stop icon at any time to end the recording early.
Your speech will be automatically converted into text and displayed in the message input field.
Click Send to submit your spoken message.

The example is shown below.