
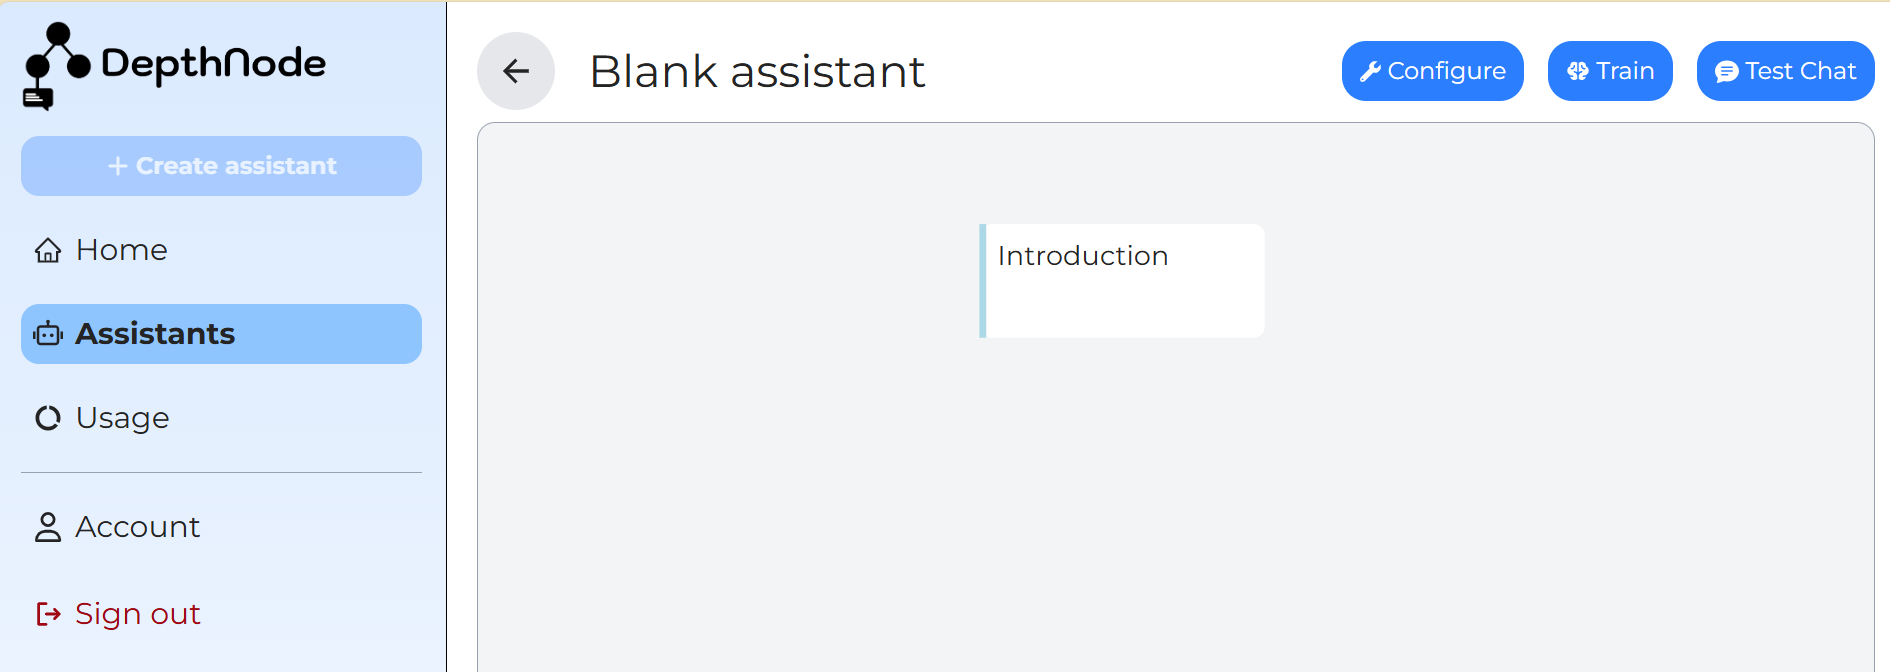
After creating a new assistant, the screen opens to the Workspace.
This area is also called the Decision Tree Editor.
In the centre, you’ll see the first node titled “Introduction.”
You can edit the Introduction node by clicking on it.
Inside the node editor, you can:
Change the node title
Enter a message that will be displayed to users
For example:
“Hello, this is DepthNode. How can I help you?”
Always click Save changes button after editing.
Editing a node allows you to change the title, write a message, and manage the conversation flow.
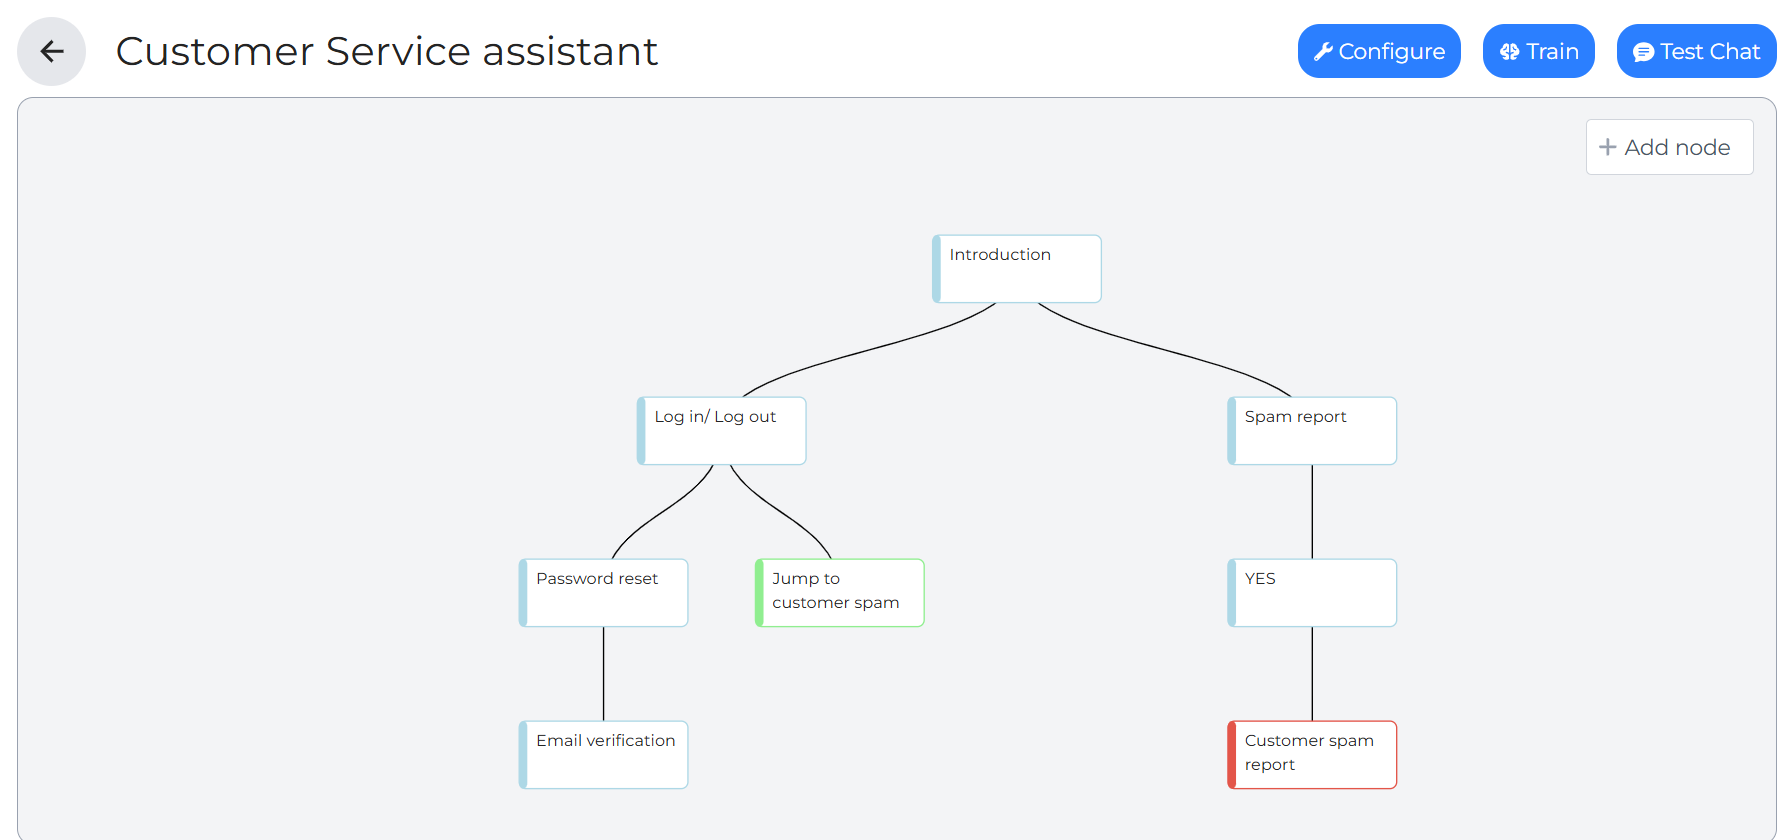
The Editor Screen is the main area where you design and organise the assistant’s conversation flow.
It displays all nodes in a tree structure, starting from the Introduction node at the top. Each node represents a step in the conversation.
At this screen, users can:
Edit existing nodes
Add new nodes
Rearrange node order
Manage conversation branches.
At the top-right corner, you can see three key control buttons:
Configure – set the background, instructions, and AI settings for the assistant.
Train – upload documents, FAQs, or links to teach your assistant new information.
Test Chat – instantly preview how the assistant will respond.


Select the desired node type.

Text Node – Used to display a message to the user and guide them to the next step in the conversation. This is the most common node type for providing information or asking simple questions.
Form Node – Allows users to submit structured information, such as contact details or support requests. Submitted data can be stored or sent to external systems such as a Google Sheet or webhook.
Jump Node – Redirects the conversation to another existing node in the decision tree. This is useful for reusing conversation paths or connecting different branches.
Selecting the Node Position
After selecting the node type, multiple coloured plus icons will appear around existing nodes. These indicate the positions where a new node can be inserted.
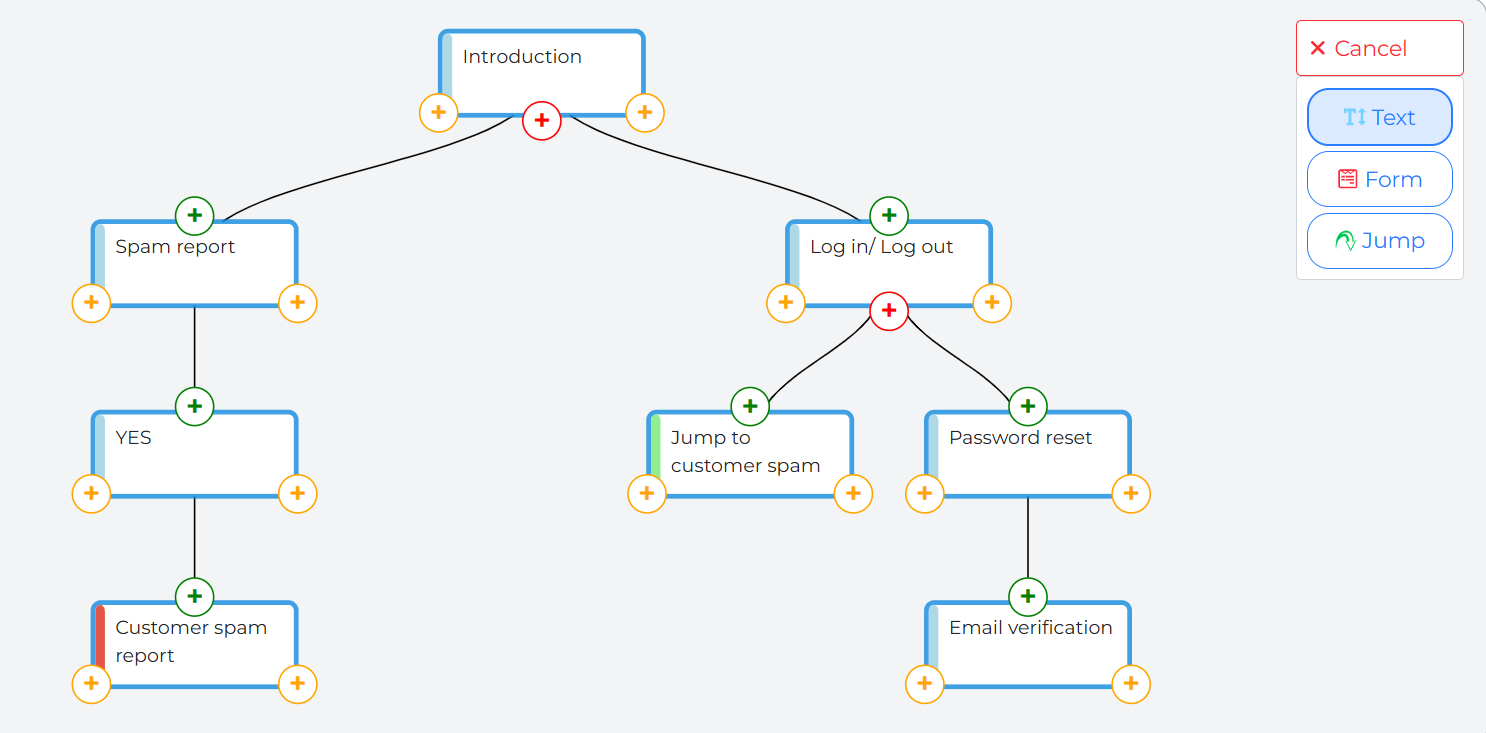
There are three possible positions:
Yellow Plus – Allows you to add a node to the left or right of the existing node, creating another option at the same level.
Red Plus – Adds a node below the current node, extending the conversation branch.
Green Plus – Adds a node above the existing node. This inserts the new node before the current one and pushes the entire branch one level downward.
Note: When a new node is added, it may temporarily appear with a dotted outline.
During this processing stage, the node cannot yet be clicked or edited. Once processing is complete, the node becomes fully interactive.
Editing a Text node
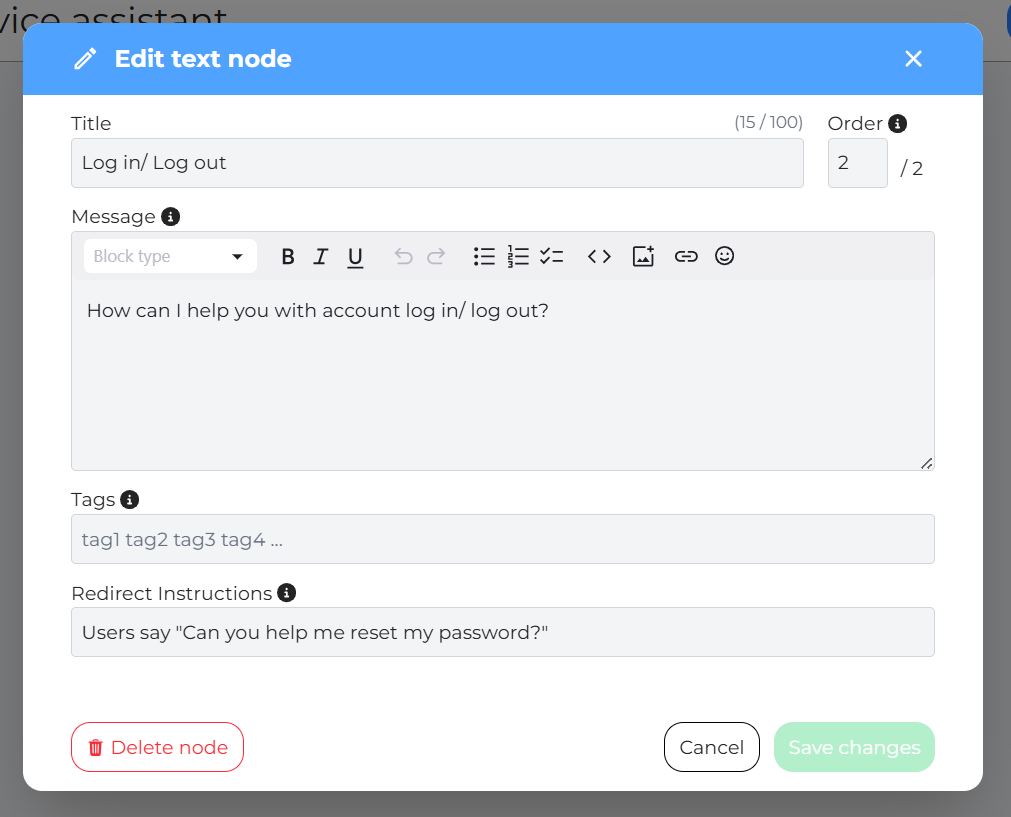
To edit a Text node, click on the node in the workspace to open its dialogue box.
Inside the editor, you can:
Modify the node title
Write or update the message content
Apply basic text formatting
Emoji Picker
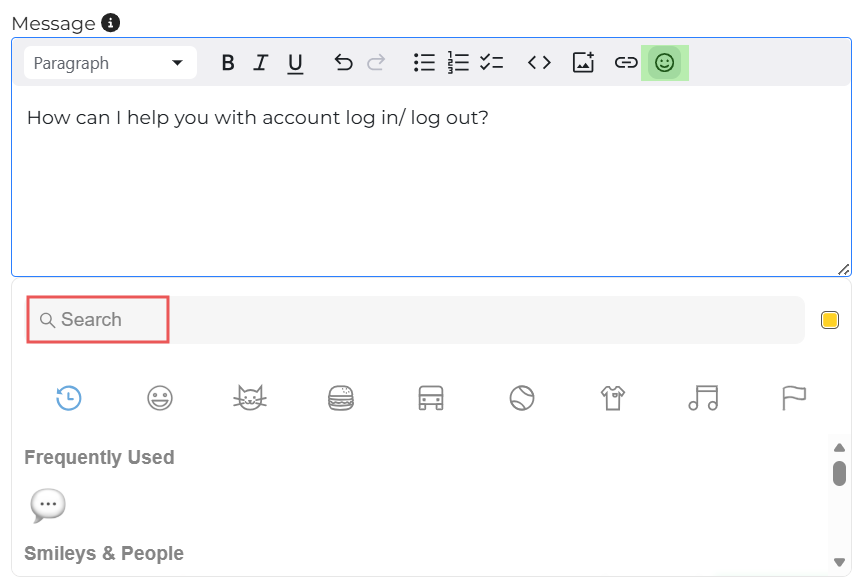
An Emoji Picker has been added alongside the basic formatting tools.
To insert an emoji:
Click the emoji icon in the message editor.
Select an emoji from the picker.
The selected emoji will be inserted directly into the message.
When users interact with the assistant in the chat interface, the message will appear with the chosen emoji included.
Click on the emoji icon, now you can search for any icon using the search bar below.
Changing the tree nodes order
Blue Arrows Hovering
When you hover over a node, arrow controls appear that allow you to adjust its position.
You can:
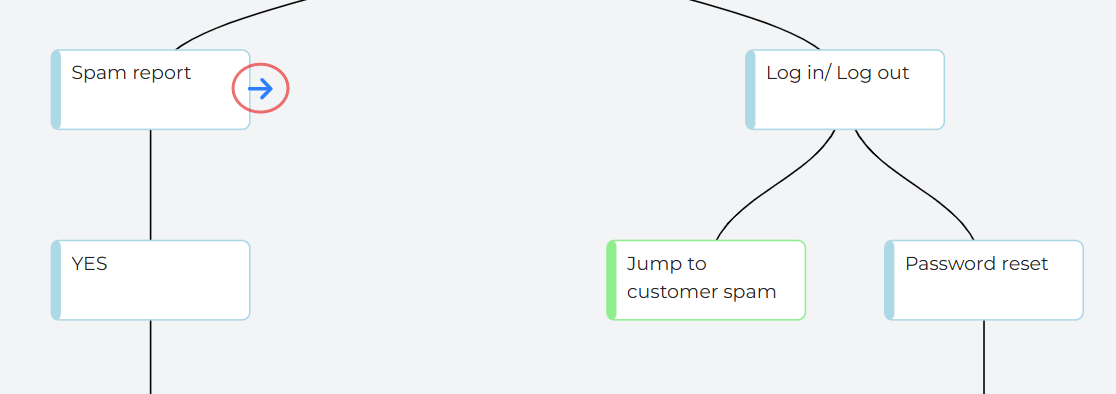
Switch the position of tree branches
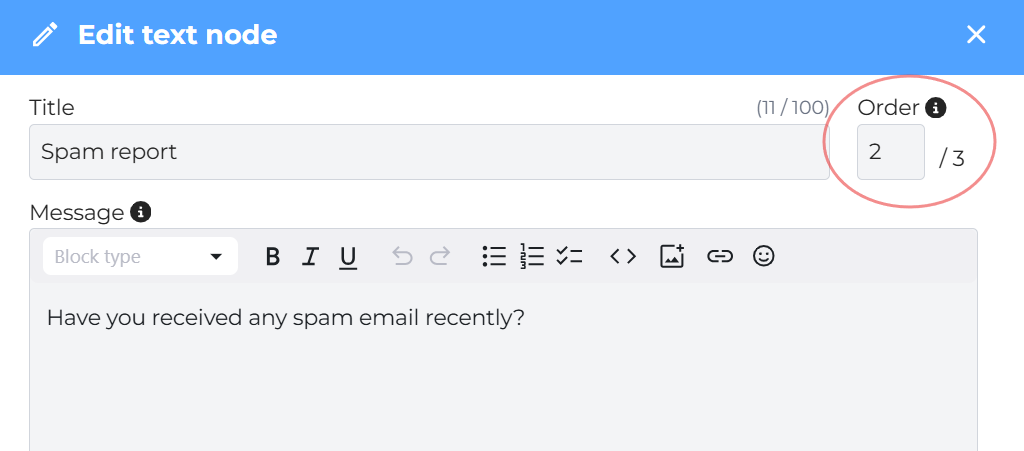
Change its order number in the editor
Once the order number is updated, the node will automatically move to the corresponding position in the tree.
Here is an example.
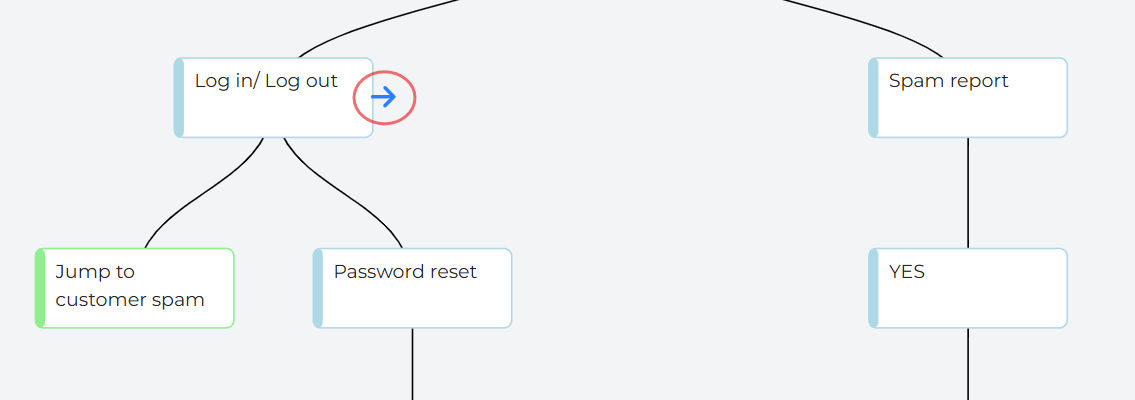
After clicking on the arrow, the “Log in/ Log out” branch moved to the right, vice versa, shown on the image below.
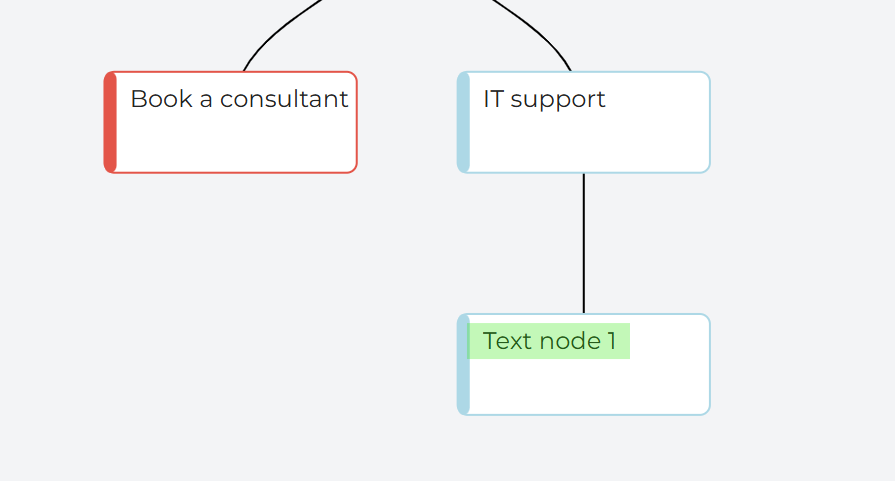
Automatic Node Numbering
Each newly created node is automatically assigned a unique node number.
This numbering system helps users easily locate nodes when building complex conversation flows, especially when configuring Jump nodes.
For example, a text node is just added which is named “Text Node 1”.
Assistant Screen Overview
To access all assistants, select the Assistant icon from the hover navigation bar.
This screen allows users to create, view, and manage assistants.
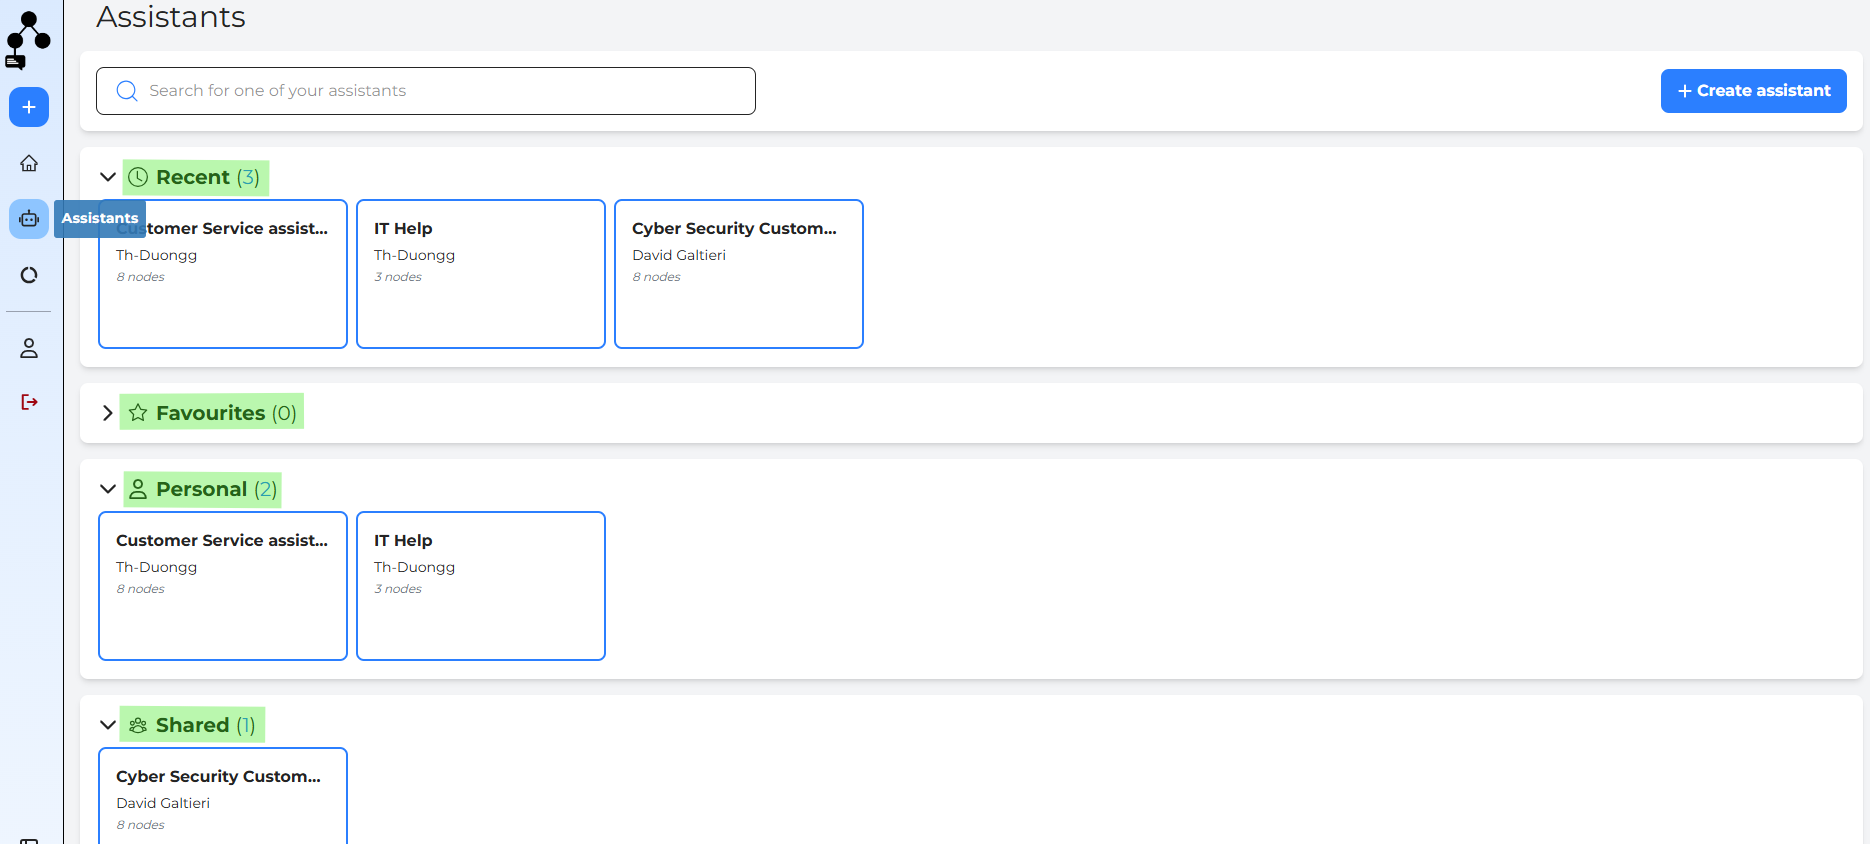
All assistants are listed under the RECENT section for quick access.
Users can manage each assistant using the icons displayed on the assistant card.
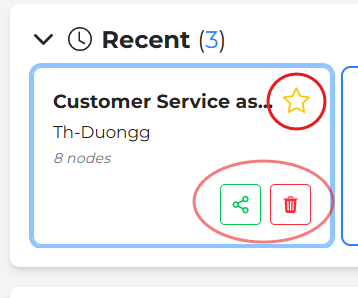
Yellow Star – Mark the assistant as a favourite for quick access.
Green Share Icon – Share the assistant with another user via email.
Red Bin – Delete the assistant permanently.
