II. Add the Google Sheet Module
The next step in the Make.com scenario is to process the data by adding it to your Google Sheet.
Add a Google Sheet Module: In the Make.com scenario, add a new module and select ‘Google Sheets’.

Select Action: Choose the ‘Add a Row’ action.

Select the Spreadsheet:
Connect your Google Account if prompted.
Select the ‘customer detail’.
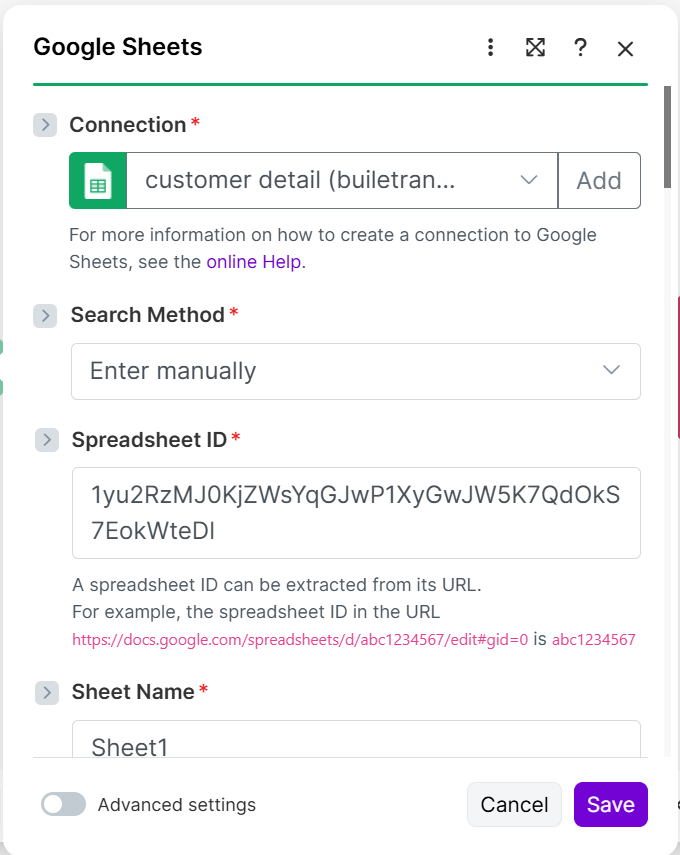
Set Sheet Details:
Specify the Sheet Name (e.g., ‘Sheet 1’).
Confirm that the sheet ‘contains a header row’.
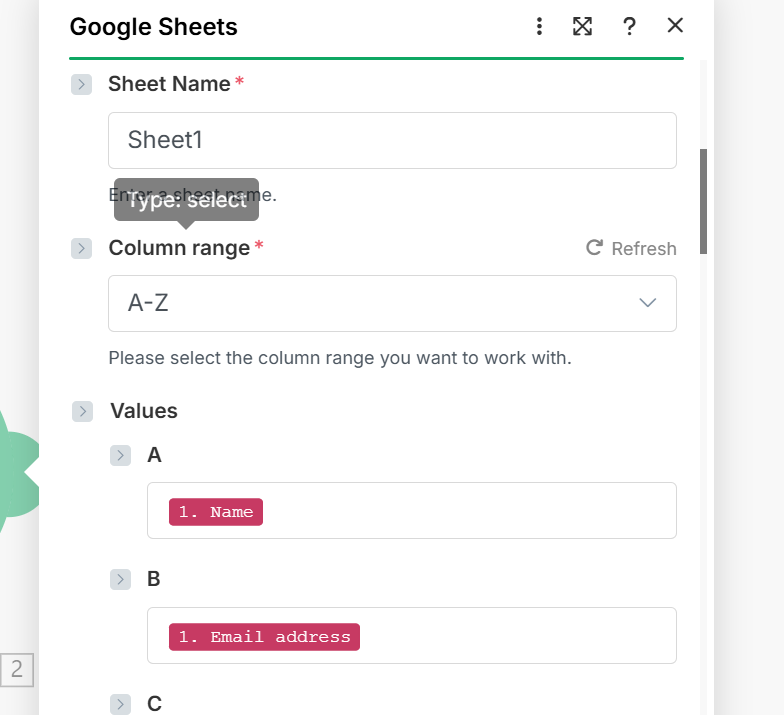
Map the Fields: Map the data received from the webhook to the corresponding columns in your Google Sheet:
For the Name column, select the data field corresponding to Name from the webhook.
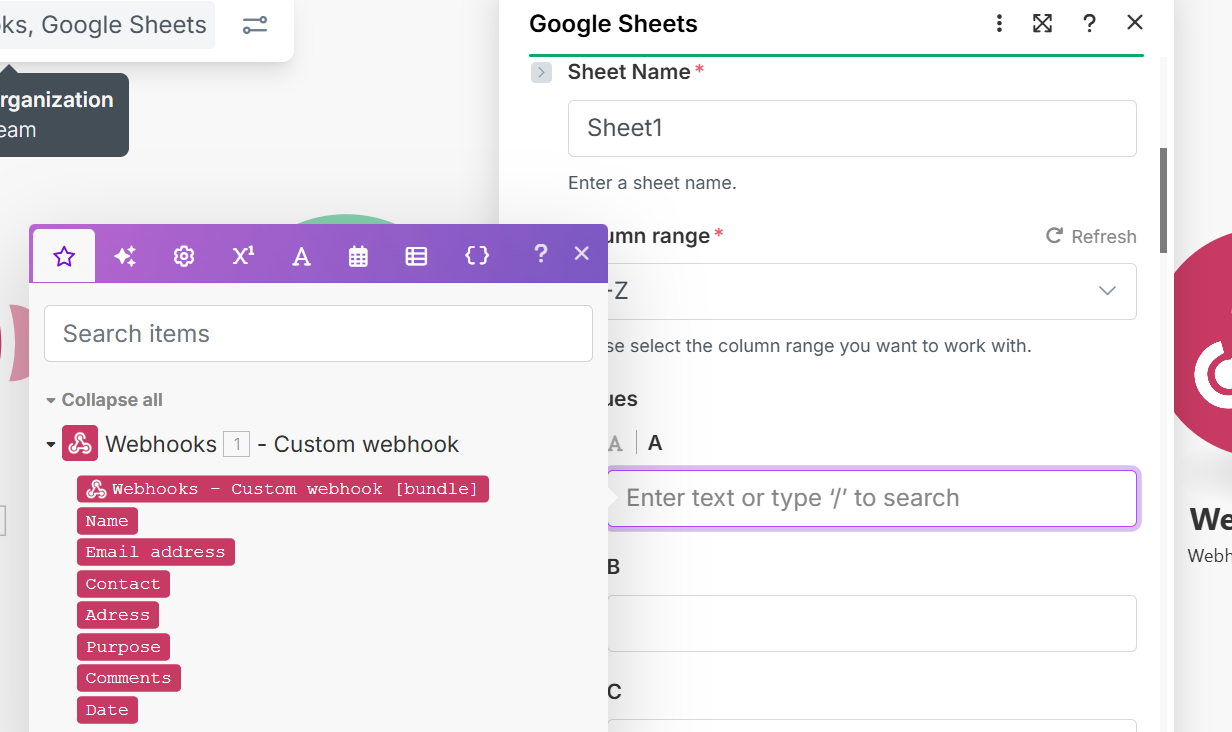
Repeat this for Email, Phone, Message, and Type.

Save the Module: Ensure you click ‘Save’ on the Google Sheet module.
Save the Scenario: Save the entire scenario.
Turn On the Scenario: Activate the scenario by toggling the switch to On. You can rename the scenario (e.g., ‘CyberChat Sales Contact Collector’) for clarity.